Using Git: Overview
Git is an essential part of the delivery system, and we encourage all users who are not yet familiar with its concepts to learn more on the Git website. There are also some handy Git cheat sheets out there to use.
Git must be installed to use the Delivery System APIs, and you can do so at the Git website. The command-line examples we give can't generally be used directly as written, however, as a number of placeholders are used. Substitute in the environment variable or value for the following: ACCOUNT_ID, REPO_NAME, ACCESS_TOKEN, USERNAME
Using Git: Authorize
To use Git with the Delivery System API, you must authenticate using OAuth access tokens. When Git prompts you for credentials, use your access token as the password (you can use any value for the username, but typically use "x-token-auth" or similar).
See the Getting Access Tokens guide for instructions on obtaining OAuth credentials and access tokens.
Git: Create/Update repo
With Git installed and a repo created through REST, you can start creating your local repo for use. A local repo made by simply creating a directory and then initializing Git within that directory by using the git init command.
          mkdir my_repo
          cd my_repo
          git init
With the repo initialized, you'll now want to tie it to the remote repo in the Brightcove system so that you can easily push out your changes to the server.
git remote add origin https://repos.api.brightcove.com/v1/accounts/[ACCOUNT_ID]/repos/[REPO_NAME]
Then you can add, edit, or remove files for your local remote however you'd like. You can then use normal Git commands to update the remote repo.
          git add -A
          git commit 'Changing stuff'
          git push
Using Git: Push repo
The details for where different files are pushed are given in the output of the git push. You can also find the base URL for any repo within REST API calls to the repo URL. All files are stored on a CDN so that they can be viewed quickly by all users.
If you are building your own, completely custom player, you should be aware that we cannot guarantee that updates to all files will take place simultaneously within a typical client like a browser. Therefore, it is strongly recommended that users of the delivery system APIs use a versioning strategy that ensures tightly-coupled files are requested together after an update is made. One strategy to accomplish this is to make updates in an entirely new location rather than overwriting existing files. This enforces that the files are requested are the original sources since there is no chance of there being a cached copy in our service. You should expect the first few requests for these uncached copies to take longer than usual, however. To be clear, if you are creating players using the player management APIs and not using the delivery system APIs directly, you don't need to worry about this as the cache concerns are handled for you.
The total time it takes for you to see updates reflected on your live site depends on a number of factors. Most importantly these factors include browser caching and the time it takes to complete a purge request from our edge nodes. Typically, it should take no longer than five minutes from when you last pushed to a repo. This is because the files we serve are set to cache in a browser for five minutes by default and it only takes around one minute on average for all of our edge nodes to clear. However, under peak service load, the purge time can be much higher -- as much as 10 minutes. In a worst case scenario, it will would take (still determining this time) for all of the caching layers to clear and your updates to finally go live. This should never happen unless the purge request failed or timed out and our fallback cache handler was required to refresh your content.
Viewing your changes
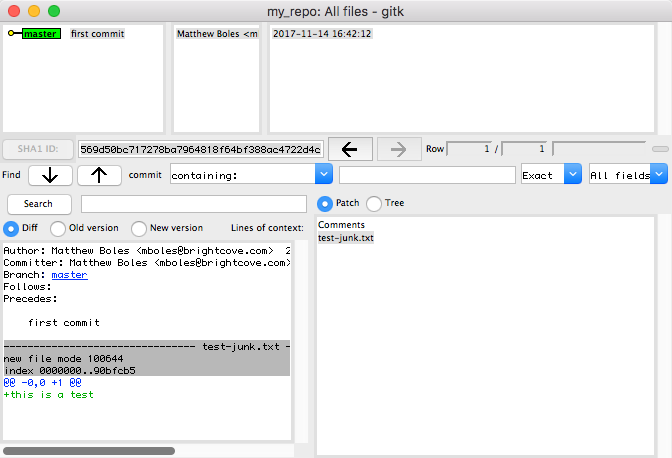
After making changes you would probably like to see what you have done. You can do this by using the gitk command. When you use this command in your Git initialized directly, a GUI will appear showing you your work. A simple sample appears as follows:
Using Git: Clone repo
You can copy a repo that is already being stored by Brightcove to your local system. In Git terms, this is known as cloning a repo. This allows you to not only get a repo that someone else in your organization created but also to retrieve the repos that the player management APIs have created.
git clone https://repos.api.brightcove.com/v1/accounts/{{account_id}}/repos/$REPO_NAME/$ACCESS_TOKEN
Error responses: Git
The error responses for Git calls are limited to whatever your Git client can support:
- If you try to call a repo which does not exist, you will usually get a message about git-upload-pack not found: did you run git update-server-info on the server?. Check to ensure that the repo URL is correct.
- If your call can not be authenticated or authorized, you will usually get prompted for credentials. This typically means your access token is invalid or expired. Obtain a new access token following the Getting Access Tokens guide.